I.Introduction
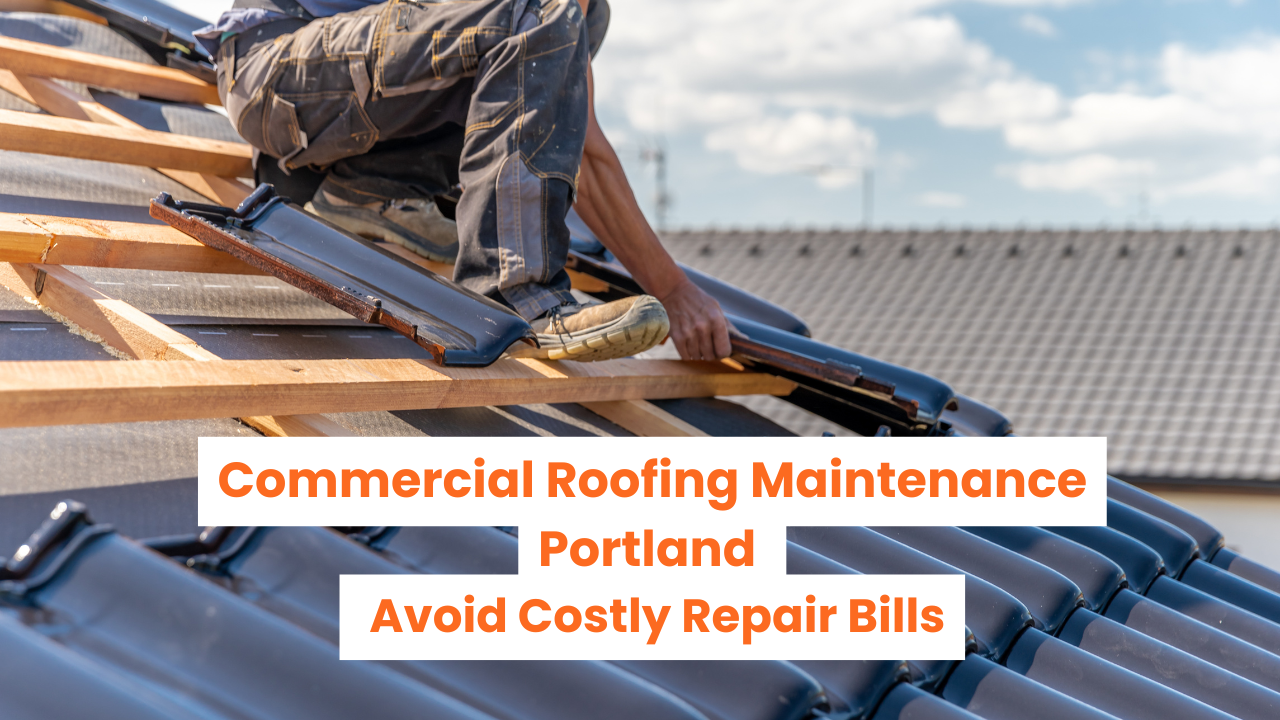
Tile roofing is a popular option due to its long life, durability, and traditional style. Whether made of clay, concrete, or slate, tile roofs are built to last—but they aren’t immune to damage.
Timely repairs are crucial. Even a single broken tile can lead to leaks, mold, and costly underlayment damage.
For many homeowners, DIY tile roof repair offers a practical solution for minor issues. You’ll save on labor, respond faster to problems, and learn useful home maintenance skills.
However, working on your roof requires preparation, knowledge, and the right tools. This guide from Certified Roofing Services breaks down everything you need to safely and successfully repair your tile roof.
II. Understanding Tile Roofs
Types of Tile Roofing Materials
Clay Tiles – Long-lasting, traditional look, weather-resistant
Concrete Tiles – Heavier, more affordable, durable
Slate Tiles – Premium material, highly durable, expensive
How Tile Roofs Are Constructed
Tile roofs are layered systems. Beneath the tiles lies an underlayment that serves as a waterproof barrier. There are two main installation methods:
Batten System – Tiles rest on wooden battens for ventilation
Direct Nailing – Tiles are nailed directly into the roof deck
Understanding this helps ensure proper removal and replacement.

III. Common Tile Roof Problems Homeowners Face
Even durable tile roofs can experience:
Cracked or broken tiles – Caused by impact or age
Slipped or missing tiles – Often due to wind or improper installation
Leaks and water intrusion – From tile gaps or underlayment issues
Damaged underlayment – Water exposure leads to mold and rot
Moss or debris buildup – Can lift tiles or clog drainage paths
Addressing these early avoids more expensive repairs later.
IV. Safety Precautions Before You Begin
Why Roof Safety Is Critical
Falls are the leading cause of injury in DIY roofing. Never underestimate roof height or slope.
Safety Gear Checklist
Non-slip shoes
Roofing gloves
Safety harness
Helmet
Ladder Safety Tips
Place on stable ground
Extend 3 feet above the roof edge
Secure the base
If your roof is steep, high, or damaged, call a professional like Certified Roofing Services instead.
V. Tools and Materials You’ll Need
Gather everything before climbing up:
Replacement tiles
Pry bar or flat bar
Roofing adhesive or mortar
Hammer or nails
Roofing sealant
Flashlight
Roofing safety gear
Having tools within reach saves time and prevents unnecessary trips down the ladder.

VI. Tile Roof Repair: Step-by-Step Instructions
Step 1: Inspect the Roof for Damage
Use binoculars or safely walk the roof. Look for:
Cracked, shifted, or missing tiles
Signs of water stains or mold inside your attic
Mark all affected areas clearly before beginning.
Step 2: Remove Damaged Tiles
Insert a pry bar beneath the broken tile’s lower edge. Lift gently to avoid disturbing surrounding tiles.
Dispose of broken tiles carefully to avoid injuries or sharp edges.
Step 3: Check the Underlayment
Examine the exposed area. Look for:
Tears or rot
Mold or moisture stains
If underlayment damage is widespread, contact Certified Roofing Services.
Step 4: Install Replacement Tiles
Align new tile with those adjacent. Depending on your system:
Use adhesive or nails as needed
Make sure tiles overlap properly
Poor alignment can cause leaks later.
Step 5: Seal and Finish the Repair
Apply sealant around edges of new tile if required. This helps waterproof and secure the repair.
Focus on joints, valleys, and corners where water tends to collect.
Step 6: Inspect Your Work
Check your repairs:
Tiles should be flush and secure
Look for gaps or signs of stress
Use a hose to simulate rainfall and check for leaks.
VII. Tile Roof Maintenance Tips to Prevent Future Damage
Preventing damage is easier than fixing it. Stay ahead with:
Inspections: Check your roof twice a year and after storms
Cleaning: Remove debris, moss, and leaves from tiles and gutters
Schedule professionals: Have Certified Roofing Services inspect and service your roof every few years
Consistent care extends your roof’s lifespan and reduces emergency repairs.
VIII. When Not to DIY: Knowing Your Limits
Don’t risk safety or bigger problems. Call a professional if you notice:
Structural sagging or widespread tile damage
Large sections of missing underlayment
Internal water damage or attic leaks
Certified Roofing Services offers expert repair for complex roofing issues, ensuring your home stays protected.
IX. FAQs: DIY Tile Roof Repair
Can I walk on a tile roof safely?
Only if necessary, with proper shoes and gear. Step on the lower third of each tile where it’s strongest.
What’s the cost of replacing a few tiles?
DIY tile replacement may cost $10–$30 per tile. Professionals may charge more but offer warranties.
How long does a tile roof last after repair?
A proper repair can last 10–20 years depending on the tile and weather conditions.
Is sealing tiles necessary?
Only if your system uses sealant or you’re in a high-rain zone. Many tiles interlock and don’t need sealing.

X. Conclusion
Knowing how to do your own tile roof repair can save time and money.
You’ll protect your home from leaks and prevent small problems from becoming costly ones.
Always prioritize safety and use the right tools. If you’re unsure or the damage is serious, trust Certified Roofing Services to handle the job professionally.
Regular maintenance and timely repairs are the key to a long-lasting tile roof.